
Pavlova
Day: October 1, 2024

Chocolate Mousse
Chocolate Mousse

Ricotta-Mascarpone Mousse with Balsamic Strawberries
Ricotta-Mascarpone Mousse with Balsamic Strawberries

Easy Strawberry Layer Cake
Easy Strawberry Layer Cake

Strawberry Shortcake Cake
Strawberry Shortcake Cake
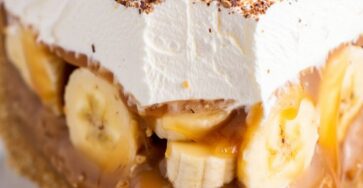
Banoffee Pie
Banoffee Pie

Rice Cake with Dulce de Leche and Dark Chocolate
Rice Cake with Dulce de Leche and Dark Chocolate

Oreo Ice Cream Cake
Oreo Ice Cream Cake
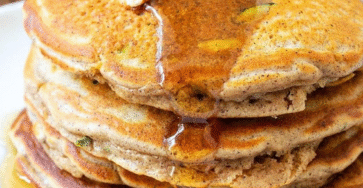
Zucchini Walnut Pancakes
Zucchini Walnut Pancakes

Funfetti Pancakes
Funfetti Pancakes