Healthy Sesame Chicken (Quick & Better Than Takeout!)
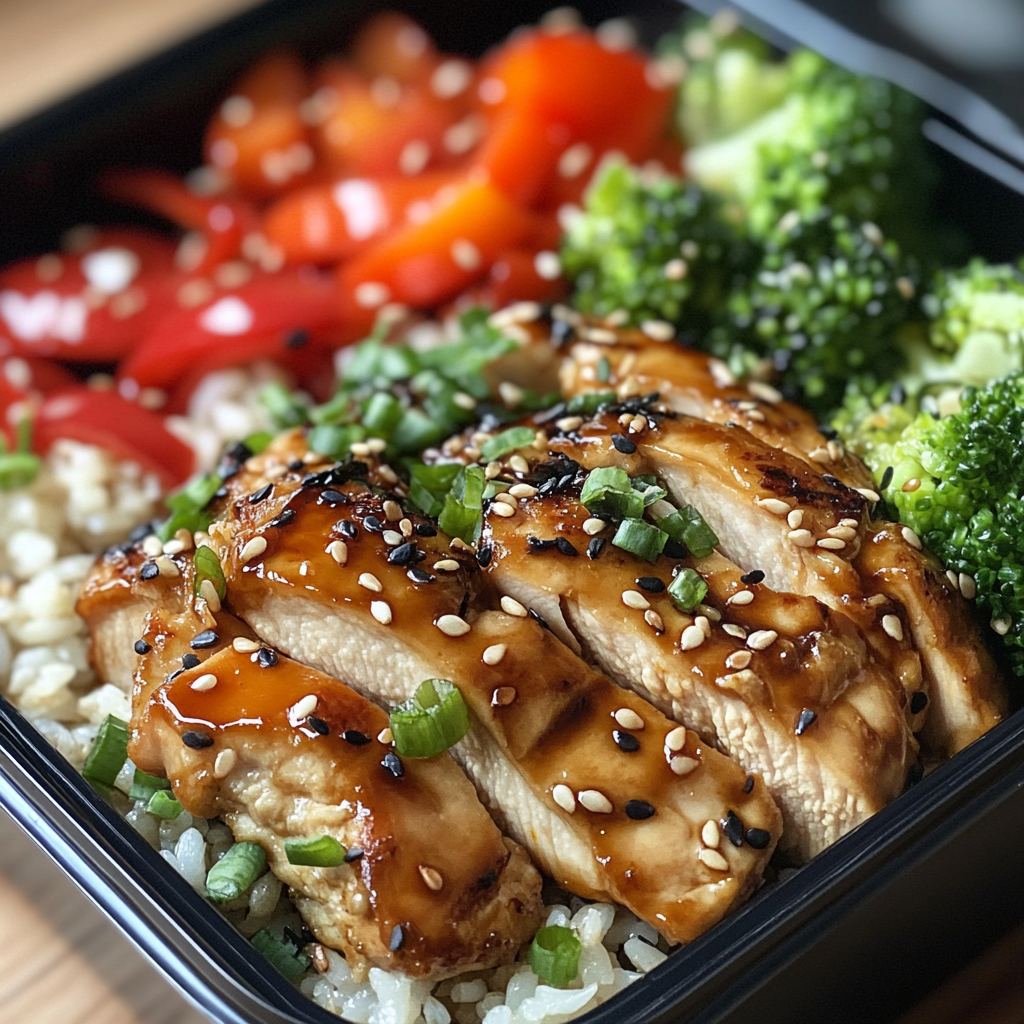
Healthy Sesame Chicken (Quick & Better Than Takeout!)
Healthy Sesame Chicken (Quick & Better Than Takeout!)

Introduction Rien ne dit “printemps” comme un plat coloré et parfumé de raviolis garnis de tomates juteuses, d’asperges croquantes, d’ail sauté et d’herbes fraîches. Ce mets végétarien simple, mais élégant, …
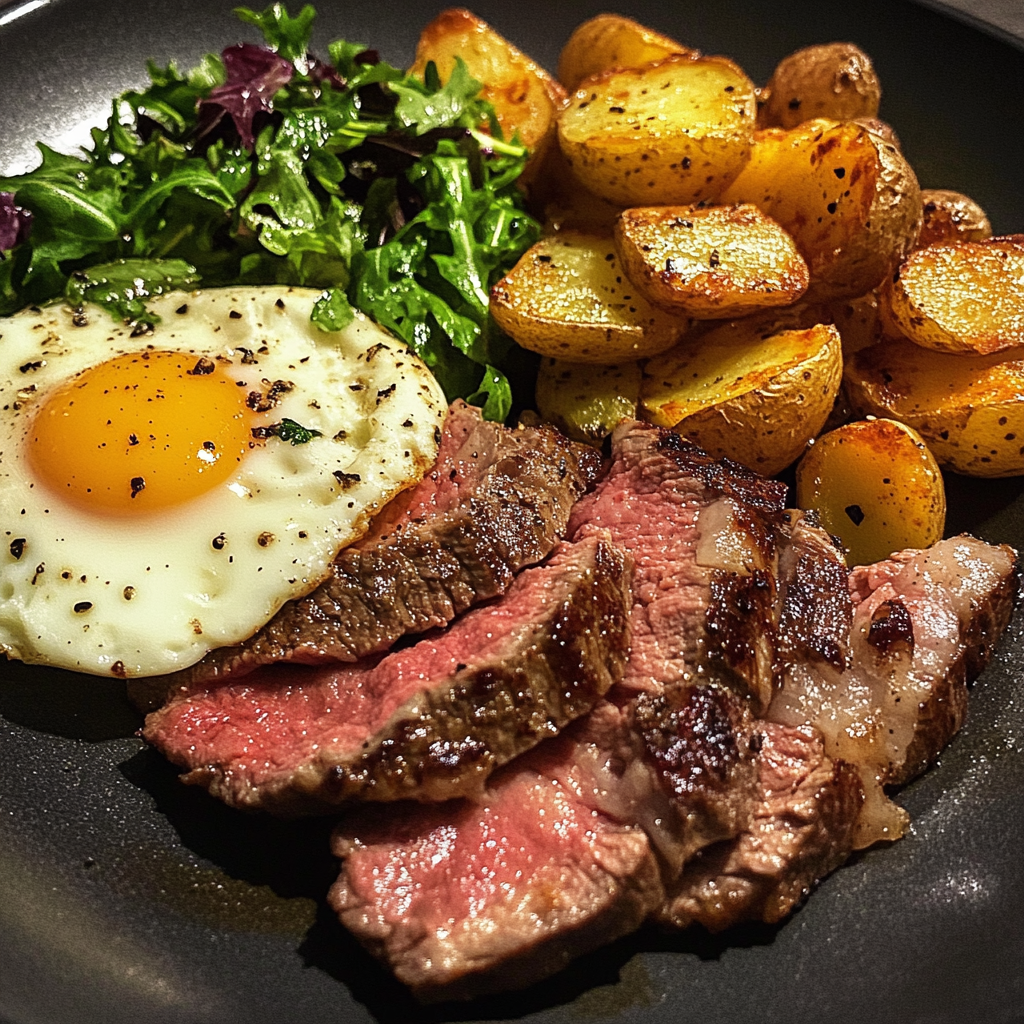
Skillet Gourmet: Steak, Eggs, Crispy Potatoes & Fresh Salad

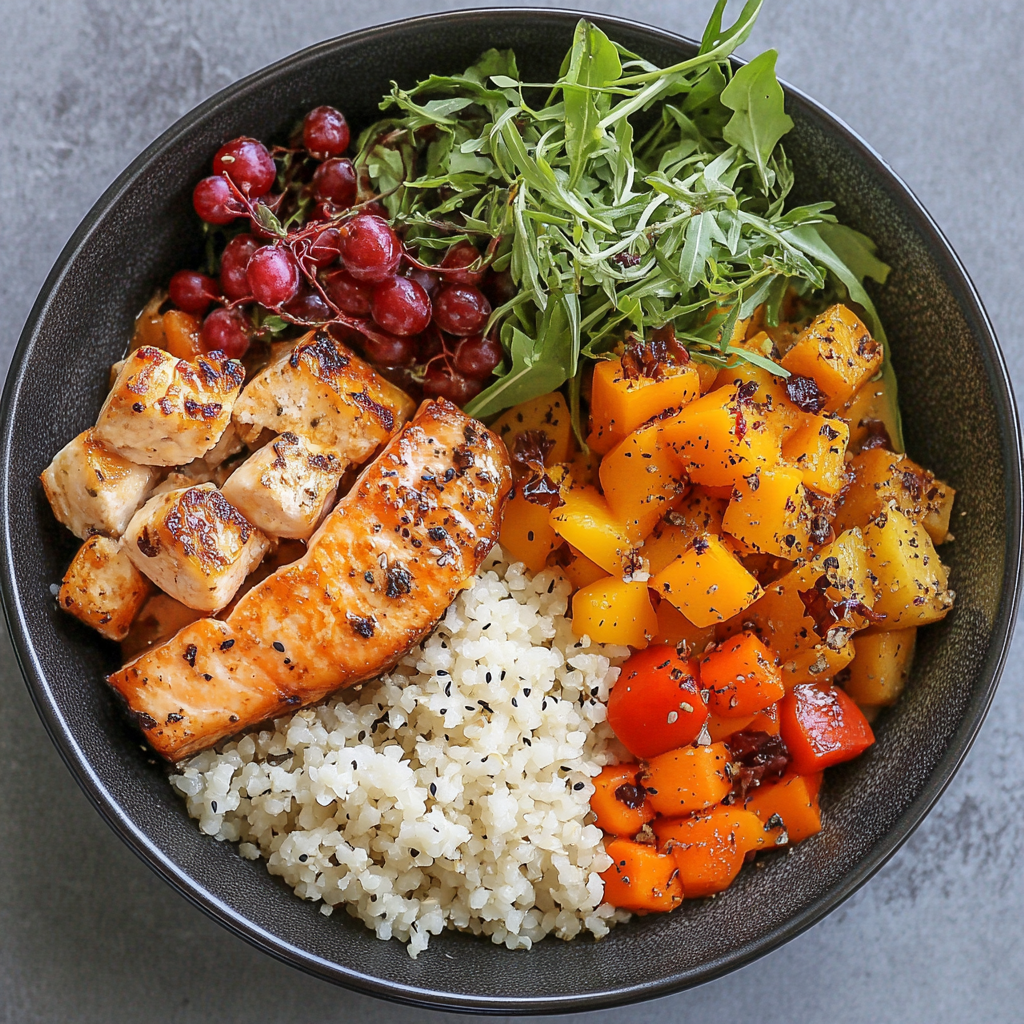
Table of Contents 1. Introduction If you’re looking for a dish that strikes the perfect balance between wholesome, filling, and flavorful, Grilled Chicken with Roasted Sweet Potatoes & Veggies is …
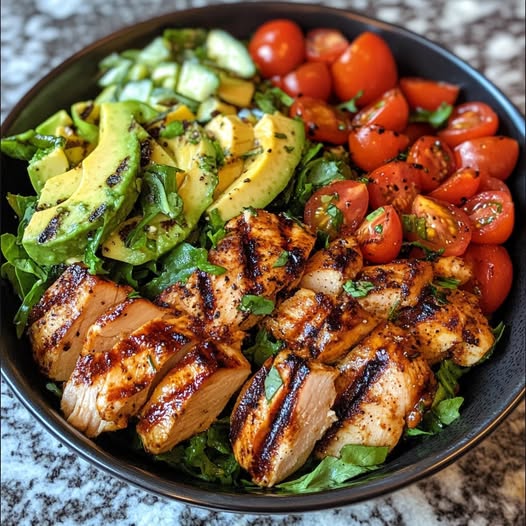
Serves: 2–4 Prep Time: 15 minutes Cook Time: 12–15 minutes Total Time: 30 minutes Ingredients For the Chicken: For the Salad Base: For the Dressing: Instructions 1. Prepare the Chicken …
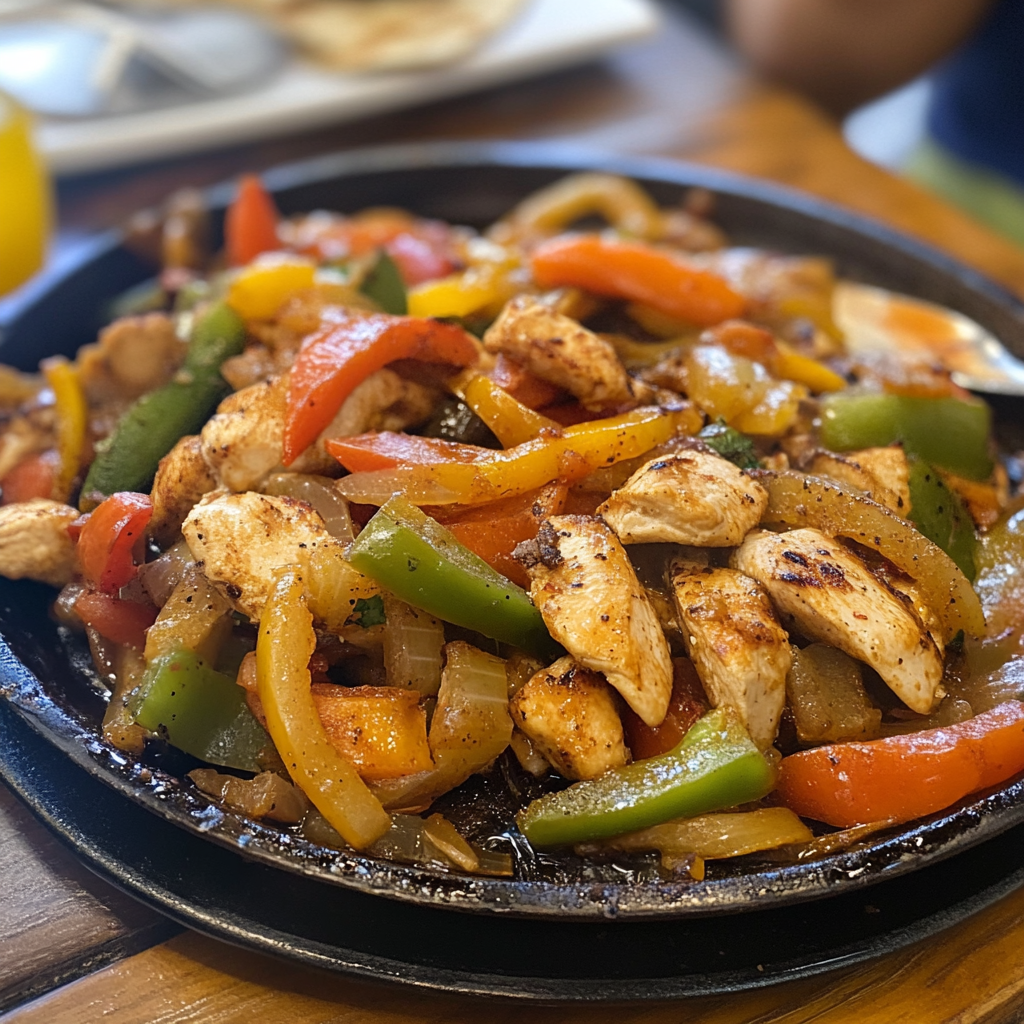
Ingredients For the Chicken & Marinade: For the Vegetables: For Serving: Instructions 1. Marinate the Chicken In a large bowl or resealable bag, combine the sliced chicken, olive oil, lime …
Nutritious Meals for Your Week
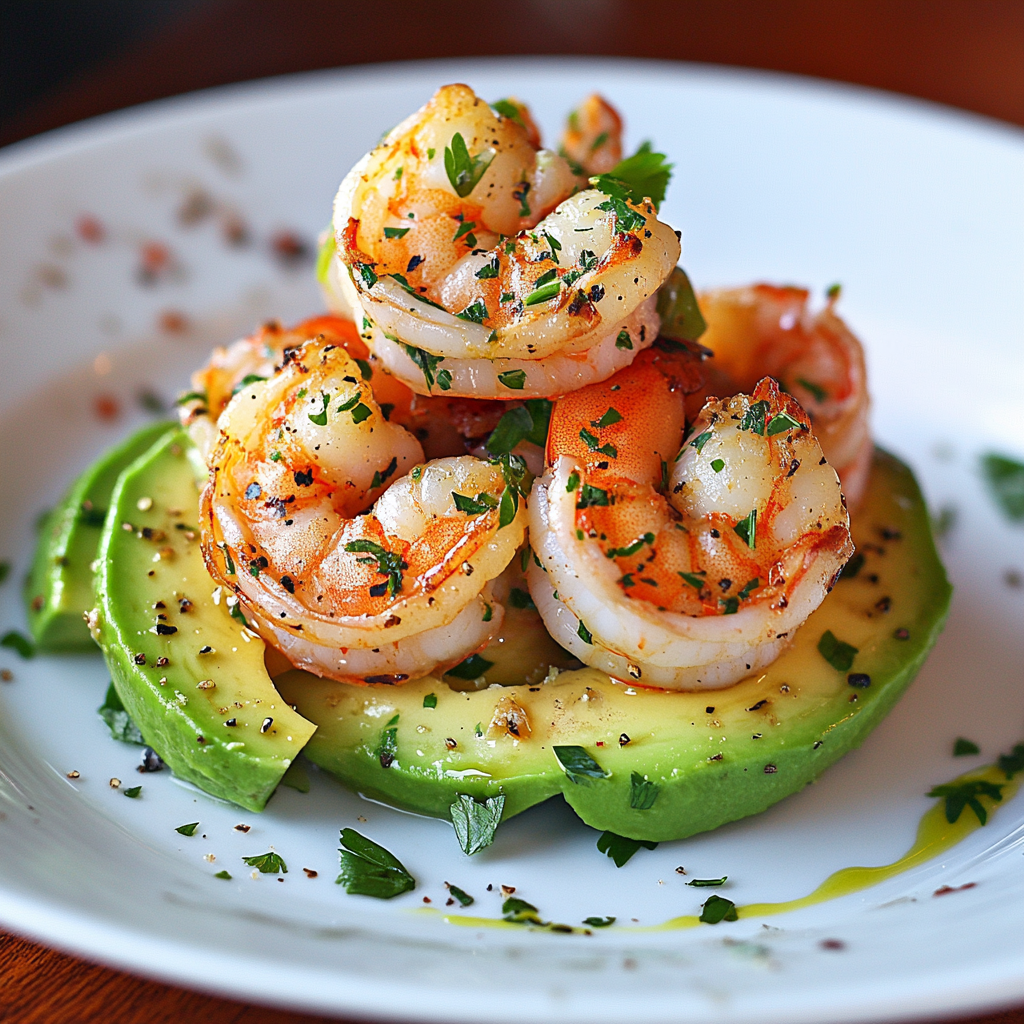
Introduction: A Coastal-Inspired Culinary Delight There’s something timeless and universally appealing about the combination of shrimp and avocado. Together, they create a vibrant harmony of creamy and savory, light yet …
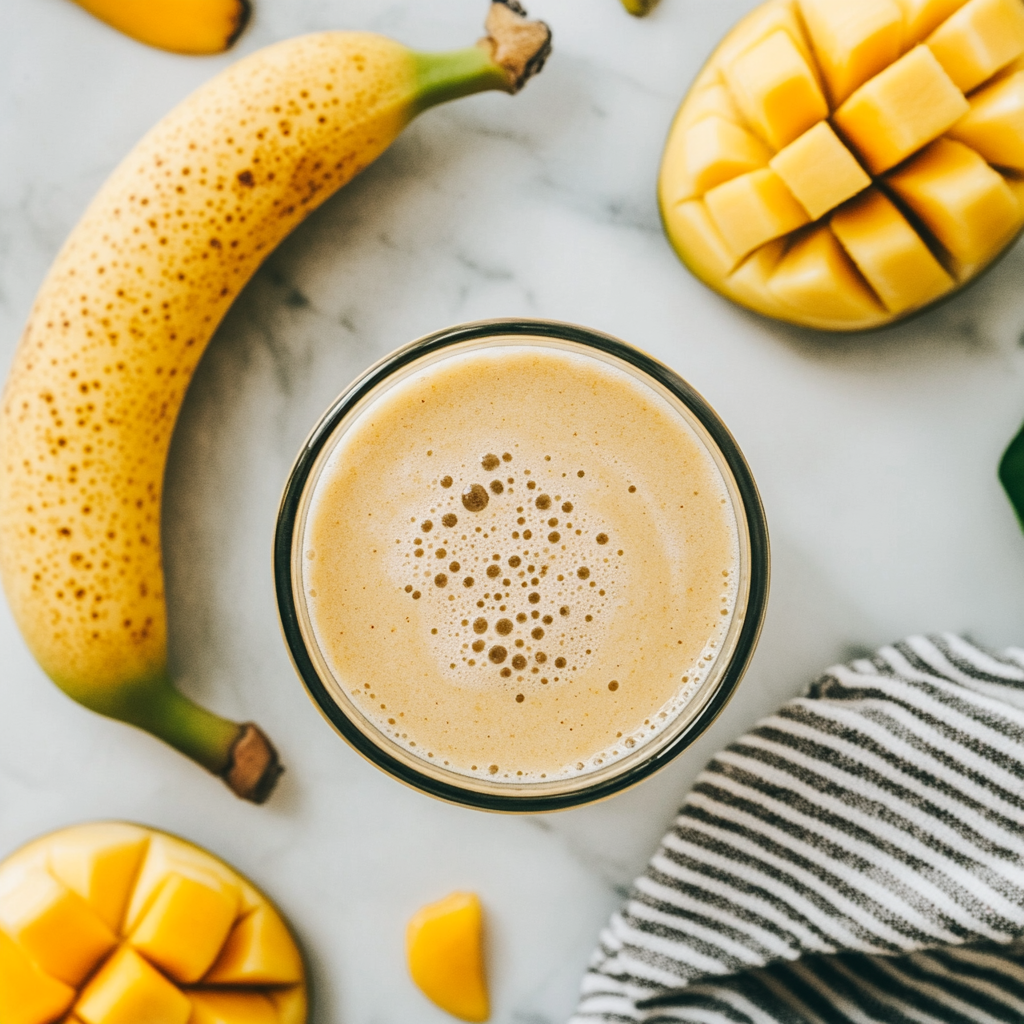
Introduction: A Tropical Fusion of Flavor and Nutrition Few drinks capture the vibrant essence of summer and wellness quite like a Mango Banana Smoothie. It’s more than just a sweet …